
In my day job as an editor in educational publishing, the formatting of a sample manuscript can determine whether I hire a freelance writer or editor, before I even read a word. If a freelancer hasn’t mastered the basics of producing a clean Word document, I don’t have time to work with them.
Some of the same formatting issues crop up in manuscripts submitted to our critique group. I don’t know whether bad formatting hurts your story’s chances with agents and editors, but I’m sure it NEVER helps. So, as a public service, here are some things NOT to do when formatting your manuscript, followed by some advice on what TO do.
Let’s start with two Word (.docx) files. NOTE: Click any image to enlarge it, in this post.

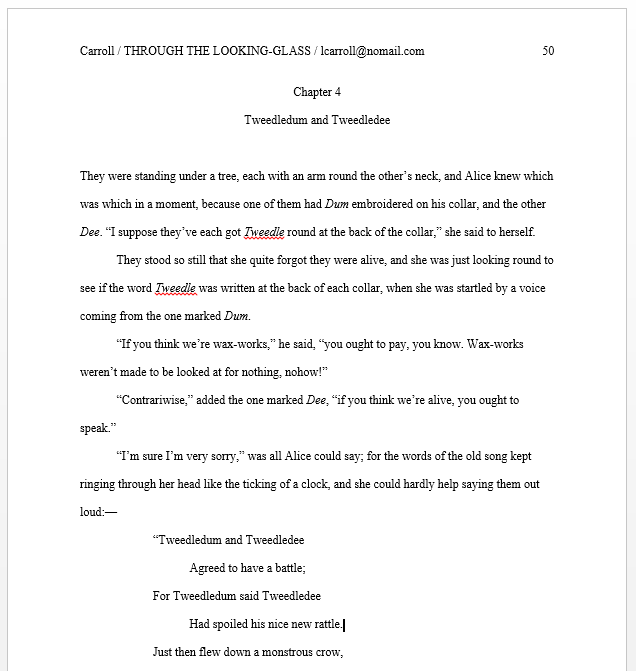
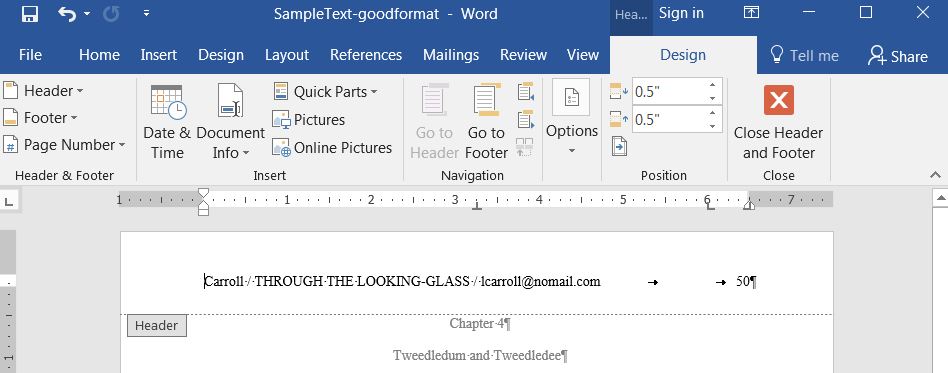
Viewed like this, both files look good. The headers have the right information. The font is Times New Roman 12. The text is double spaced and has the correct indents. These two files look the same when printed on paper or to a pdf. They even look good in a Word file when the formatting is set to HIDE.
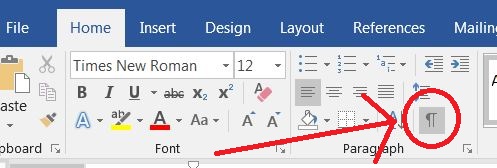
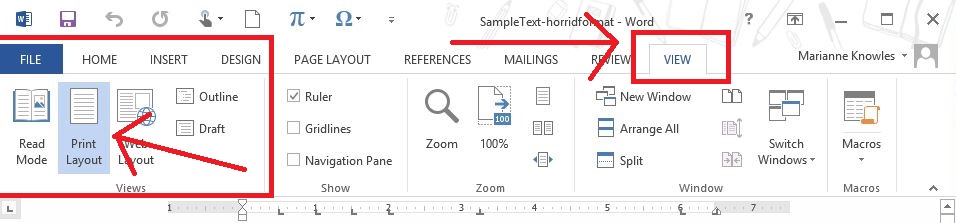
SHOW formatting tells a very different story. Double-click the “Home” tab to show the ribbon, and then click the paragraph symbol to SHOW.
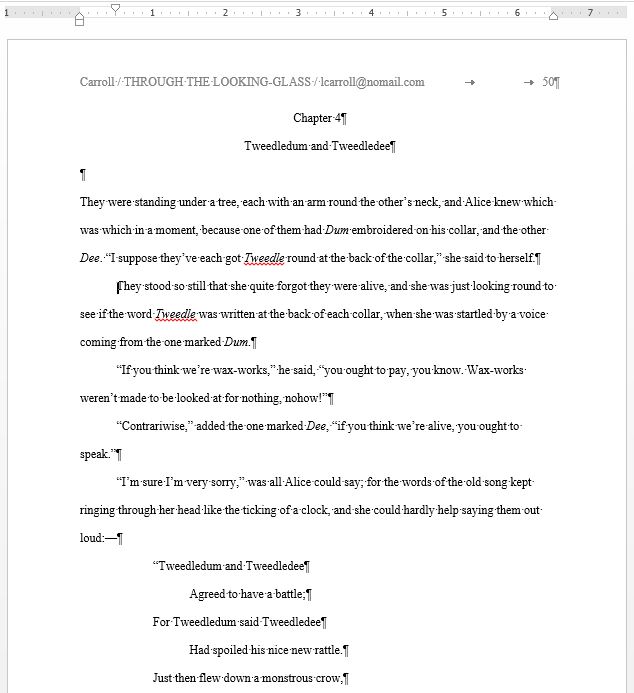
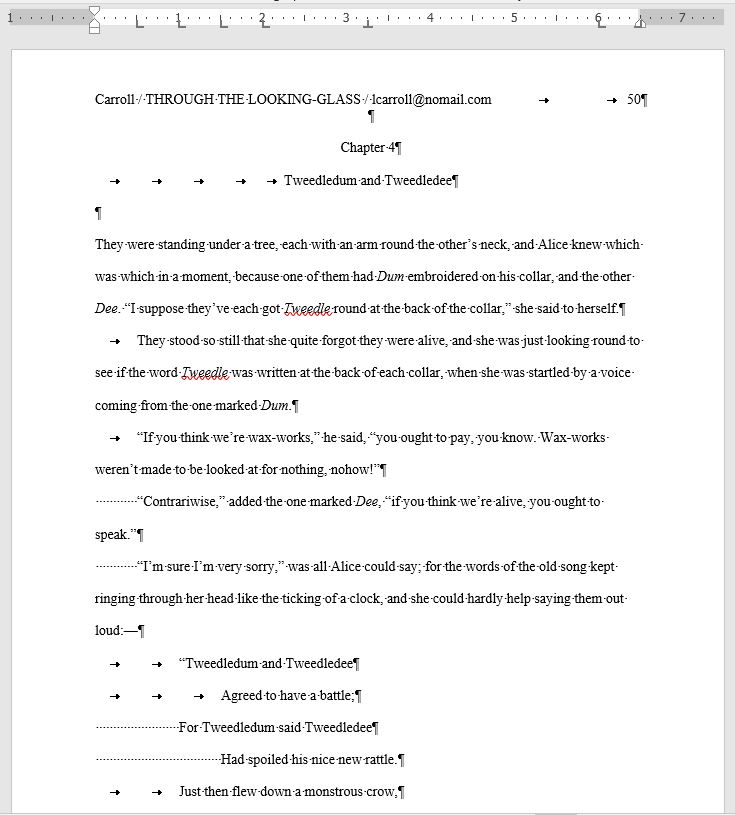
Oh no! The Bad Format file uses tabs and spaces instead of alignment and indent tools. A closer look reveals that the header resides in the body of the text, rather than in the top margin where it belongs. That means the header must be repeated on every page, with careful attention to moving it whenever the number of lines on each page changes.
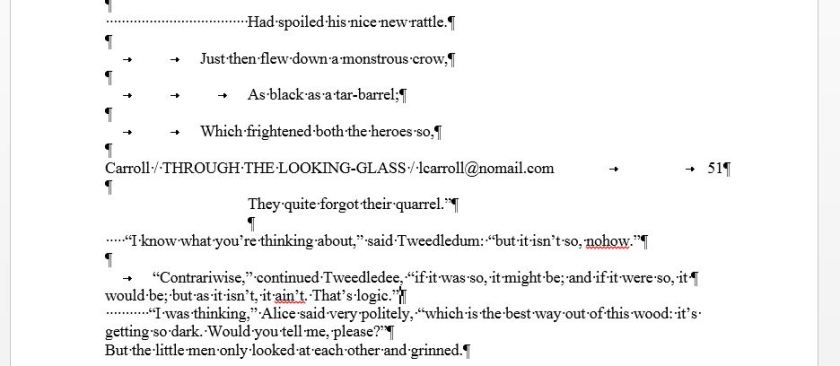
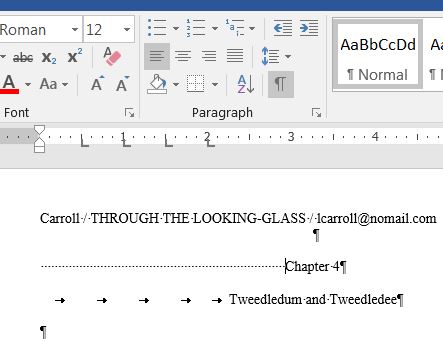
Could Bad Format possibly be worse? Yes. Picture book manuscripts (especially) are sometimes formatted like this:
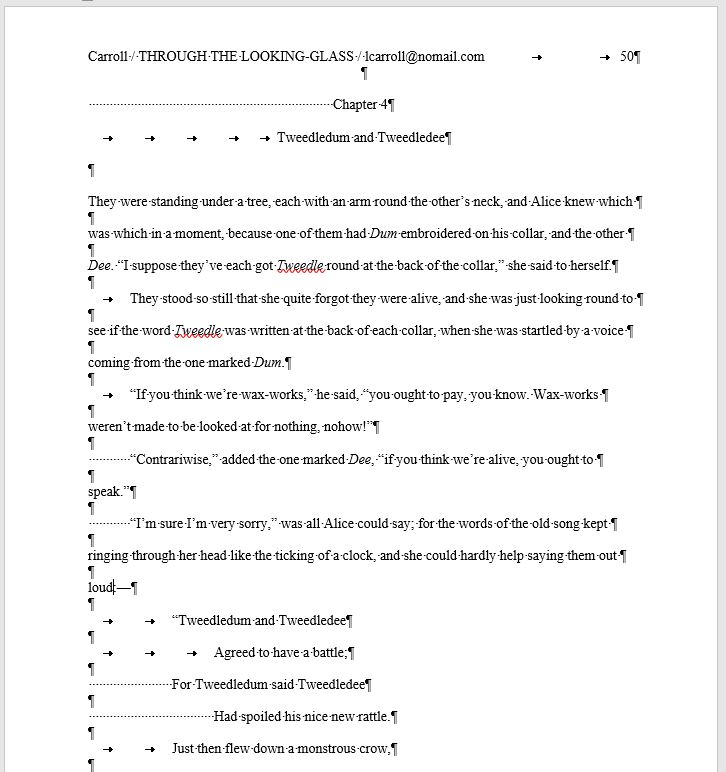
Hard returns at the end of every line is bad enough, but extra returns to create double spacing? Even typewriters had settings to avoid that!

Do your manuscripts look like this? Don’t despair. You can fix them. These hints and tips are about Microsoft Word, but similar tools appear in Google Docs, Scrivener, and other writing software.
Let’s start at the top:
HEADERS
Start by putting your document in “Print Layout” instead of “Draft.”
Then double-click the top or bottom margin of the document to open the header and footer. (Clicking either place opens both.) Your cursor is now in the header, where you can add your text.
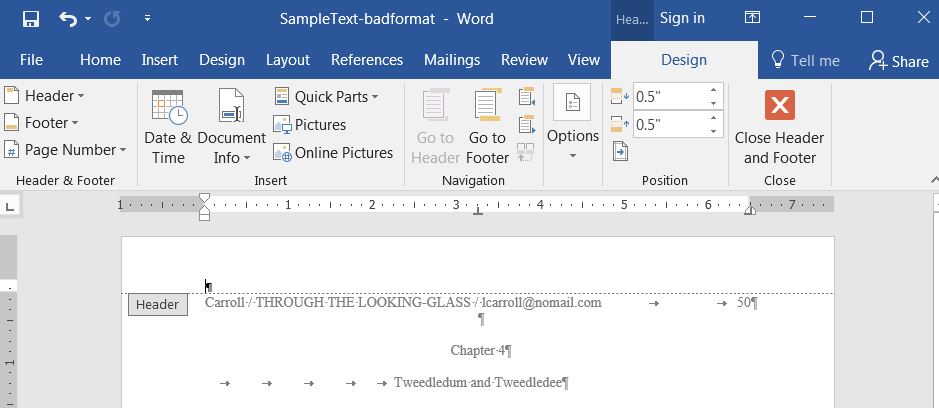
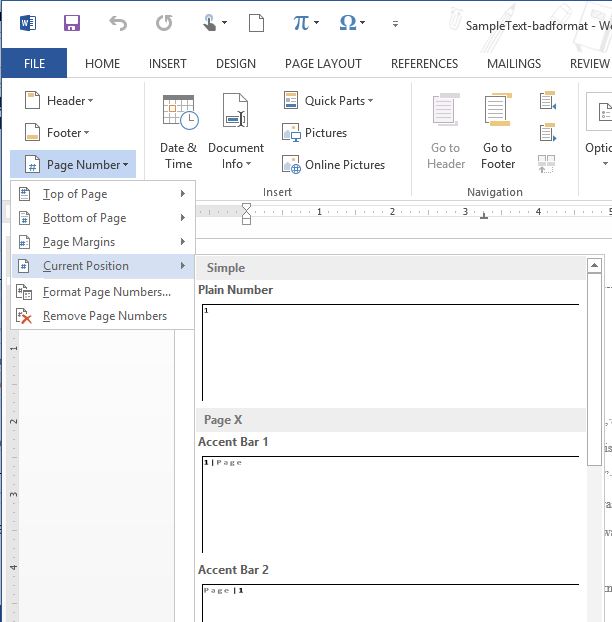
You can number your pages automatically using the “Page Number” menu at the far left. Be sure to first place your cursor where you want the page numbers to go in the header. Then, choose “Current Position” and “Plain Number” from the dropdown menu, as shown below. If you choose any other kind of page number, it will wipe out the author name, book title, and email address. You can even leave the number off the first page. (Click the boldface words for a link to instructions.)
TEXT ALIGNMENT
You don’t have to guess how to center the text. First, select the lines that you want to center. Then select the icon with the centered lines from the menu, as shown.
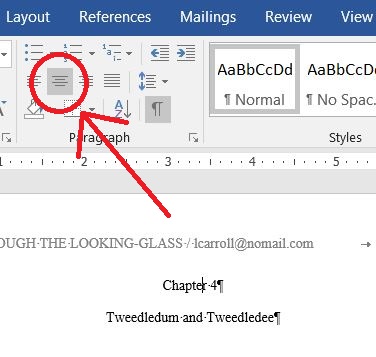
You’ll need to delete the extra tabs and spaces after centering the text.
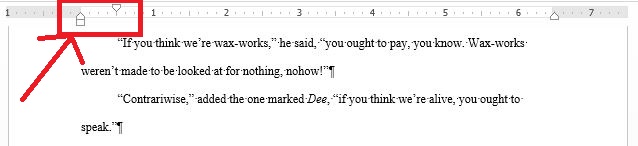
PARAGRAPH INDENTS
First, select the text you want to indent. You can select the whole document using “Control-A.” Then hold down the SHIFT key and use your cursor to select the top part (downward pointing arrow) of the gizmo in the ruler. Slide the top part of the gizmo across to set the indent. Save your file and stop selecting all the text. Then delete the tabs and indents.

DOUBLE SPACING
Select your whole document using “Control-A.” Then, on the “Home” tab of the Word ribbon, click the page spacing menu and choose 2.0.
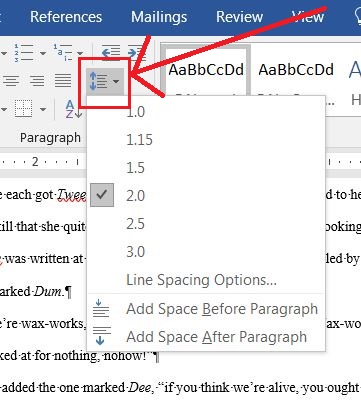
It’s tempting to use 1.5, but don’t. You’d be surprised how many people can tell the difference just by looking at a printout; that includes critique partners as well as editors and agents.
MORE HELP
- Jen Malone has a fantastic post on this blog called How to Format a Manuscript that describes the basics of preparing a manuscript for submission.
- Tutorial: Word 2016 on GCF LearnFree.org
- Navigating the Microsoft Word Toolbar on Wikihow.org
- Google search: Type in your question and see what comes up. Chances are that there’s an answer out there.
- Local Courses: Many libraries, local governments, and community colleges offer free or low-cost training in Microsoft Office applications, including Word. It may not be as exciting as a course in plot or character-building, but it’s a worthwhile investment in your writing life, if you need it.

How do you add in and submit illustrations?
LikeLike
Hi Diana, it depends on the kind of book you’ve written. This post on Harold Underdown’s site may be helpful: http://www.underdown.org/picture-books-illustrations.htm
LikeLike
There are so many writers and editors who are working on the MS word. Actually, it provides various features to make the publishing the manuscript easy. Many writers prefer to do formatting the manuscript for publishing but I can’t suggest you to do that as it is not so helpful.
LikeLike
A great post, I do have a quick question. When using double line spacing, in MS Word there is an option to “Remove space after Paragraph” without this, which is default it would seem, there is a gap between paragraphs; this is very noticeable especially with a large amount of dialogue. Should you remove these spaces, or are they fine to remain?
LikeLike
Hi Simon, I think the goal is to make your manuscript as readable as possible, so the reader notices your words and not their formatting. If the gap between paragraphs is very noticeable, then that will get in the reader’s way and your work would show better if you remove the spaces. My version of Word has a check box for “Do not add space between paragraphs of the same type” which I am guessing is the same as “Remove space after paragraph” in yours. I usually check that box to prevent the extra space between paragraphs. Hope this helps!
LikeLike